Simple Steps for Replacing Old Tiling
Replacing old tiles can completely transform the look of your home. Whether you’re upgrading a bathroom, kitchen backsplash, or flooring, knowing the right process will save you time and money. In this guide, we’ll break down the easiest steps to remove old tiles and install fresh ones, even if you’re new to DIY renovations.
Step 1: Prepare Your Workspace
Start by clearing the area. Remove any furniture, appliances, or fixtures near the tiling zone. Cover surrounding surfaces with plastic sheets to protect them from dust and debris. Safety comes first—don’t forget gloves, safety glasses, and a dust mask.
Step 2: Remove the Old Tiles
Use a hammer and chisel (or a rotary hammer with a tile bit) to carefully break and lift the tiles. Start at a loose edge or grout line and work your way across. Be patient—rushing this step may damage the wall or floor beneath.
Step 3: Clean the Surface
Once the tiles are removed, scrape off leftover adhesive or mortar. A flat scraper or oscillating tool works best here. Ensure the surface is smooth, dry, and free of dust before moving to the installation phase.
Step 4: Lay Out Your New Tiles
Before applying adhesive, dry-lay your new tiles to plan the layout. Start from the center of the room or wall and work outward. This ensures that cut tiles at the edges look even and professional.

Step 5: Apply Tile Adhesive
Spread thin-set adhesive using a notched trowel. Apply only a small section at a time to prevent drying out. Press each tile firmly into place with a slight twist for better grip.
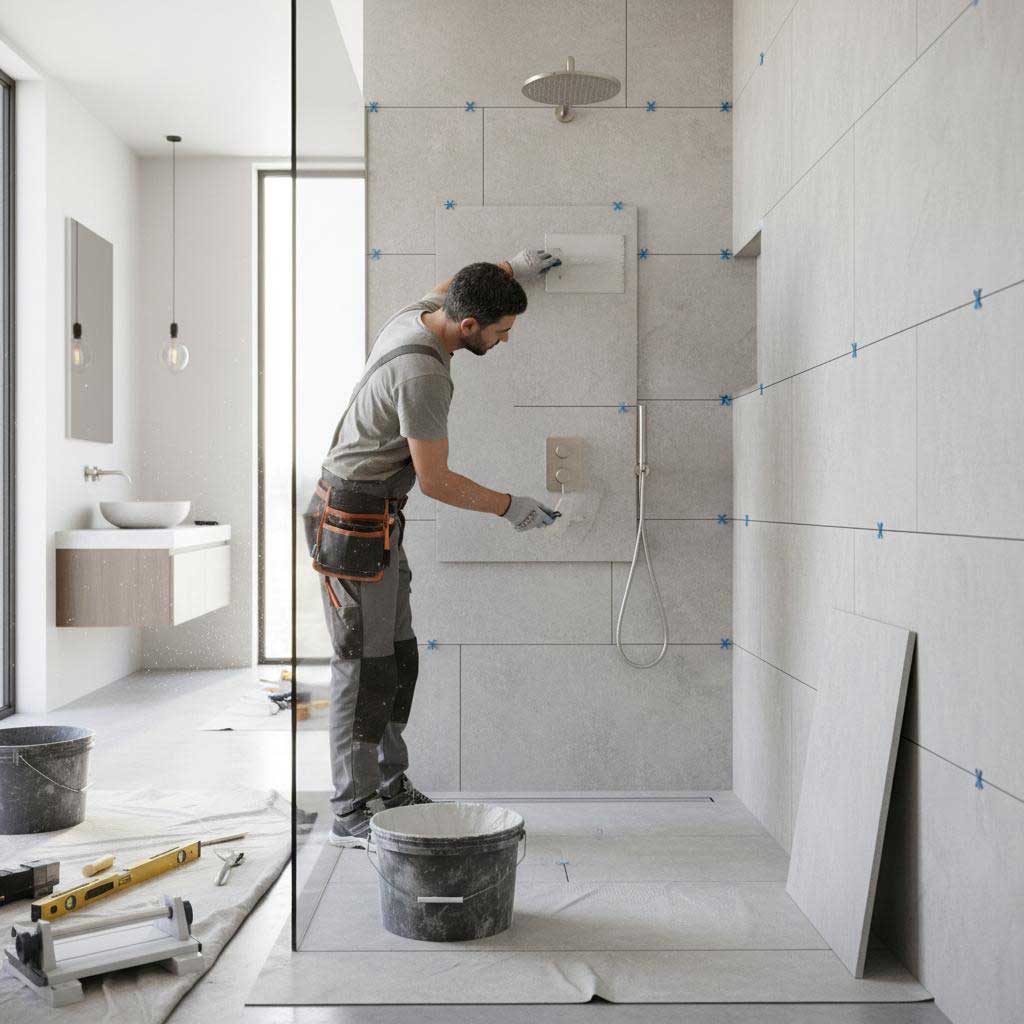
Step 6: Add Grout
After the adhesive cures (usually 24 hours), apply grout between tiles with a rubber float. Wipe off excess with a damp sponge and let it set. Once dry, buff the surface with a clean cloth for a polished finish.
Final Touches
Seal the grout if necessary, then reinstall baseboards, fixtures, or appliances. Step back and enjoy your upgraded, modern space!
Why Replace Old Tiling?
- Boosts your property value
- Improves durability and safety
- Gives your home a modern, fresh look
- Helps prevent mold and water damage
Replacing old tiles may seem challenging, but with the right approach, it’s a manageable DIY project. For larger or more complex jobs, professional contractors like Razco Renovation can ensure a flawless finish.